Last year I conducted a controlled phishing simulation at work to test and enhance our organisation’s security awareness. The goal was to educate employees on recognising phishing attempts and ultimately improve our overall security posture.
Since I love a bit of DIY and didn’t want to rely on any paid services, I decided to deploy GoPhish on AWS.
This doesn’t necessarily need to be on AWS. You could use any cloud provider or even a local VM.
Here’s a breakdown of the entire process.
Setup and Infrastructure
1. Domain Configuration
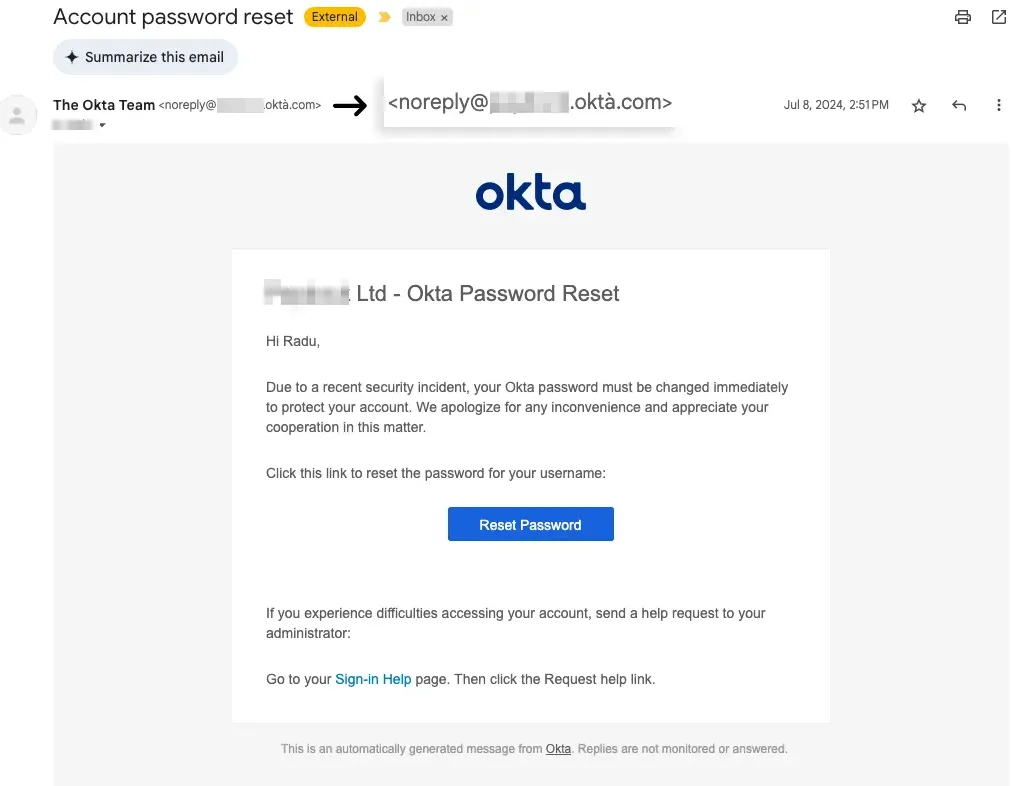
I registered xn--okt-cla.com, which translates to oktà.com using Punycode encoding. Punycode allows non-ASCII characters to be represented in domain names, commonly used for internationalised domain names (IDNs). However, attackers often exploit this to create visually deceptive domains that closely resemble legitimate ones.
In this case, oktà.com looks very similar to okta.com, a well-known authentication and identity management service. The small accent (à) is easy to overlook, making it an effective technique for phishing attacks. By using this method in the simulation, I aimed to test how well employees could spot domain impersonation and raise awareness about such threats.
2. Setting Up the VM
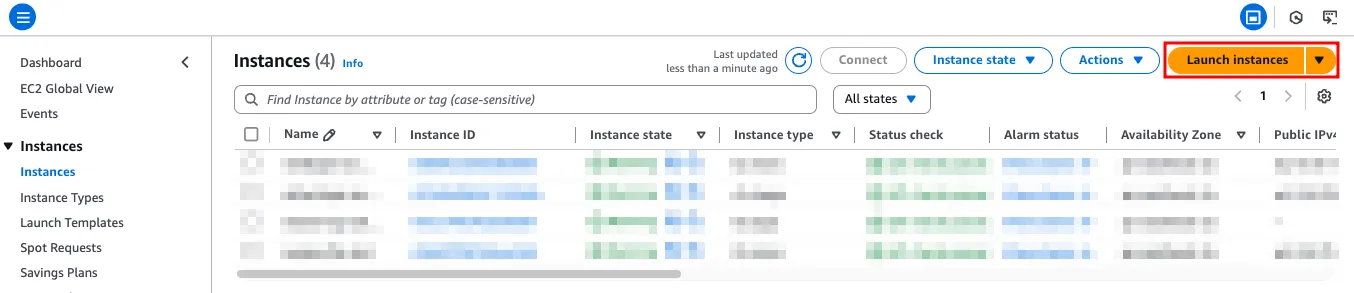
I spun up an EC2 instance on AWS:
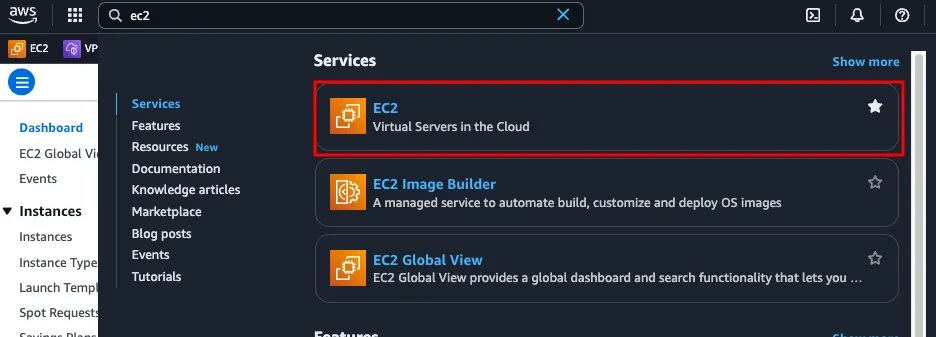
- Launch a new EC2 instance and select Ubuntu Server (Free Tier eligible) as the AMI
- Choose t2.micro as the instance type
- Create a new key pair and download the
.pemfile; keep it secure, you’ll need it for SSH - Hit Launch instance
From the EC2 Dashboard, open the instance’s Security tab, select the auto-created Security Group, and open the following inbound ports:
- 22 (SSH) - restricted to the corporate VPN
- 3333 (GoPhish Admin Panel) - restricted to the corporate VPN
- 443 (HTTPS) - open for phishing landing pages
3. Connecting and Installing GoPhish
Connect via SSH:
ssh -i your-key.pem ubuntu@your-ec2-public-ip
Update packages and install dependencies:
sudo apt update -y
sudo apt install -y git golang
Clone and build GoPhish:
git clone https://github.com/gophish/gophish.git
cd gophish
go build
Edit config.json and change listen_url from 127.0.0.1:3333 to 0.0.0.0:3333 so the admin dashboard is reachable from your browser.
Start GoPhish:
sudo ./gophish
Note the password printed in the terminal: you’ll need it to log into the admin panel.
Navigate to https://<IP_ADDRESS>:3333. You’ll see a browser warning about an insecure connection; click through for now. Log in with username admin and the password from the terminal.
From here you can create user groups, design email templates, build landing pages, and launch campaigns. The GoPhish User Guide covers the full setup.
4. Setting Up SMTP
I initially tried Mailgun, but ran into an issue: after a day of troubleshooting I contacted their support and confirmed that Mailgun doesn’t support Punycode domains. I switched to SendGrid.
Authenticating your domain with SendGrid:
- Go to Settings → Sender Authentication → Authenticate Your Domain
- Select your DNS host and follow the instructions to add CNAME, MX, and TXT records
- Configure DMARC for final validation
Once authenticated, emails sent through SendGrid on behalf of your domain won’t be flagged as spam and won’t show “via sendgrid.net” in the headers.
Configuring GoPhish to use SendGrid SMTP:
- In SendGrid, go to Settings → API Keys and create a Restricted Access key with only the Mail Send permission. A Full Access key gives far more access than GoPhish needs.
- Go to Settings → SMTP Relay: your username is
apikeyand the password is the key you just generated - Add your VM’s external IP to IP Access Management → Allow List
- Create a new Sending Profile in GoPhish: host
smtp.sendgrid.net:587, usernameapikey, password from above. Use port 587 (STARTTLS) rather than 25, which sends credentials in plaintext.
5. SSL Certificate Setup
Since I used a subdomain to make the landing page URL look as close as possible to the real thing, I needed SSL on the GoPhish server. I used Certbot:
sudo apt install certbot python3-certbot-nginx -y
In config.json, update listen_url to bind on port 443:
"listen_url": "0.0.0.0:443"
Generate a wildcard certificate:
sudo certbot certonly --manual --preferred-challenges=dns -d "*.oktà.com"
Follow the on-screen prompts to verify domain ownership. Once issued, point GoPhish to the certificate files:
"ssl_cert": "/etc/letsencrypt/live/yourdomain.com/fullchain.pem",
"ssl_key": "/etc/letsencrypt/live/yourdomain.com/privkey.pem"
6. Running GoPhish as a systemd Service (Optional)
Rather than running GoPhish in an interactive shell, set it up as a systemd service so it survives reboots:
sudo nano /etc/systemd/system/gophish.service
[Unit]
Description=GoPhish Server
After=network.target
StartLimitIntervalSec=0

[Service]
Type=simple
Restart=always
RestartSec=1
WorkingDirectory=/home/GoPhish/gophish
ExecStart=/home/GoPhish/gophish/gophish

[Install]
WantedBy=multi-user.target
sudo chmod 744 /etc/systemd/system/gophish.service
sudo systemctl daemon-reload
sudo systemctl enable gophish.service
sudo systemctl start gophish
And there you have it: GoPhish deployed, SMTP configured, SSL sorted, and the server hardened enough to run a realistic campaign. Now it’s time to get creative and craft a compelling scenario to educate your organisation’s employees.
Remember: the goal of exercises like this is not to single out individuals, but to educate and empower everyone to be more vigilant.